
 Hello, and Happy Anniversary! It was one year ago today that I published my first post! My first post contained an image of my Christmas tree, so I decided to keep the theme for my 1st anniversary. Pictured to the right is a nighttime shot of this year’s tree. I hope you enjoy it and find inspiration in the photo. A big thanks to all of my followers and those who have liked my posts over the past year, and those who have watched my video. I hope you continue to enjoy my decorating tips and ideas, and that they help you find the inspiration you need to transform your place into a chic space!
Category Archives: decorating
Switching from Thanksgiving to Christmas
 As seen on the right, I decided to update the space above our painting for Christmas! To replace my Thanksgiving decor I decided to used a simple red bow and two glittery trees. I have an identical bow attached to a hutch on the opposite wall, so I wanted to decorate in a way that tied together the two sides of the room. If you don’t have two of the same decorations, you can also use decorations that are the same color. No matter what you decide to do, you can create a decorating scheme that ties together any space!
The Christmas Wreath
 Throughout the year we have two matching paintings hanging on either side of our dining room window. However, when Christmas comes around I take them down and replace them with hand-crafted wreathes. This year’s wreath is pictured to the right! Unlike last year’s wreath, this one features red bows and bulbs in different colors. I use a plain faux wreath (found at craft stores) and decorate them differently each year. Try using items you already have (bulbs, bows, tinsel, etc.) to decorate your wreathes. Not only does this let you match the decor throughout your home, but also lets you create a unique piece each year. No matter how you decide to decorate your wreath, you’ll be sure to create one that looks great in your space!
A Fall-Inspired Chair
 As I was trying to figure out what I was going to do with the trees I created for Thanksgiving, I began to remove some of the maple leaves from the wall. I decided to stick the leaves on the chair I was standing on (so I didn’t have to keep climbing up and down the chair). Once I was finished, I got off the chair and noticed what turned out to be a brilliant decorating idea. As pictured on the right, I accidentally created a beautiful fall-inspired chair! Isn’t it amazing what can be discovered by accident? This would be the perfect pop for a dining area. Simply affix small maple leaves, poinsettias, snowflakes, or any other holiday-related item to your dining chair. This is not only an inexpensive way to temporarily update your furniture, but also serves to show off your creative genius!
The Aurora Borealis on the Ceiling
 Shortly after Thanksgiving, as is tradition, our Christmas tree was up and on display. When I passed the tree one night I looked up at the ceiling and was amazed at what I saw. As the picture on the right demonstrates, my ceiling looked like the aurora borealis! Not only does this give our ceiling a bit of character, but it also makes a nice picture. You can easily take a similar picture by taking a photo of the ceiling above a lighted tree. Once the picture is taken, you can frame and display it on a shelf along with other winter-related items of a similar hue (bulbs, ornaments, snowflakes, etc.). With all the lights and colors of the season, it’s easy to take inspiration from what’s around you to create a decorating scheme that looks beautiful throughout the entire holiday season!
The Bird in the Backyard
 Yesterday as I was working on my Christmas decorations I was alerted to visitors in the backyard. I looked out and was surprised to see a group of birds having a bite to eat. I’ve never seen this type of bird before (do you know what type it is?), so I decided to take a photo and put it on my blog. I love the different types of wildlife you encounter throughout the year! A photo like this would make a great Christmas gift for anyone that has a passion for birds or nature. Additionally, due to its neutral palette, a picture like this would also look great on a wall in any space. Be sure to stay tuned for great design ideas for the holiday season!
ANNOUNCEMENT: Check out the My Videos page to see my video on my new YouTube channel!
The First Snow Flurries of the Season
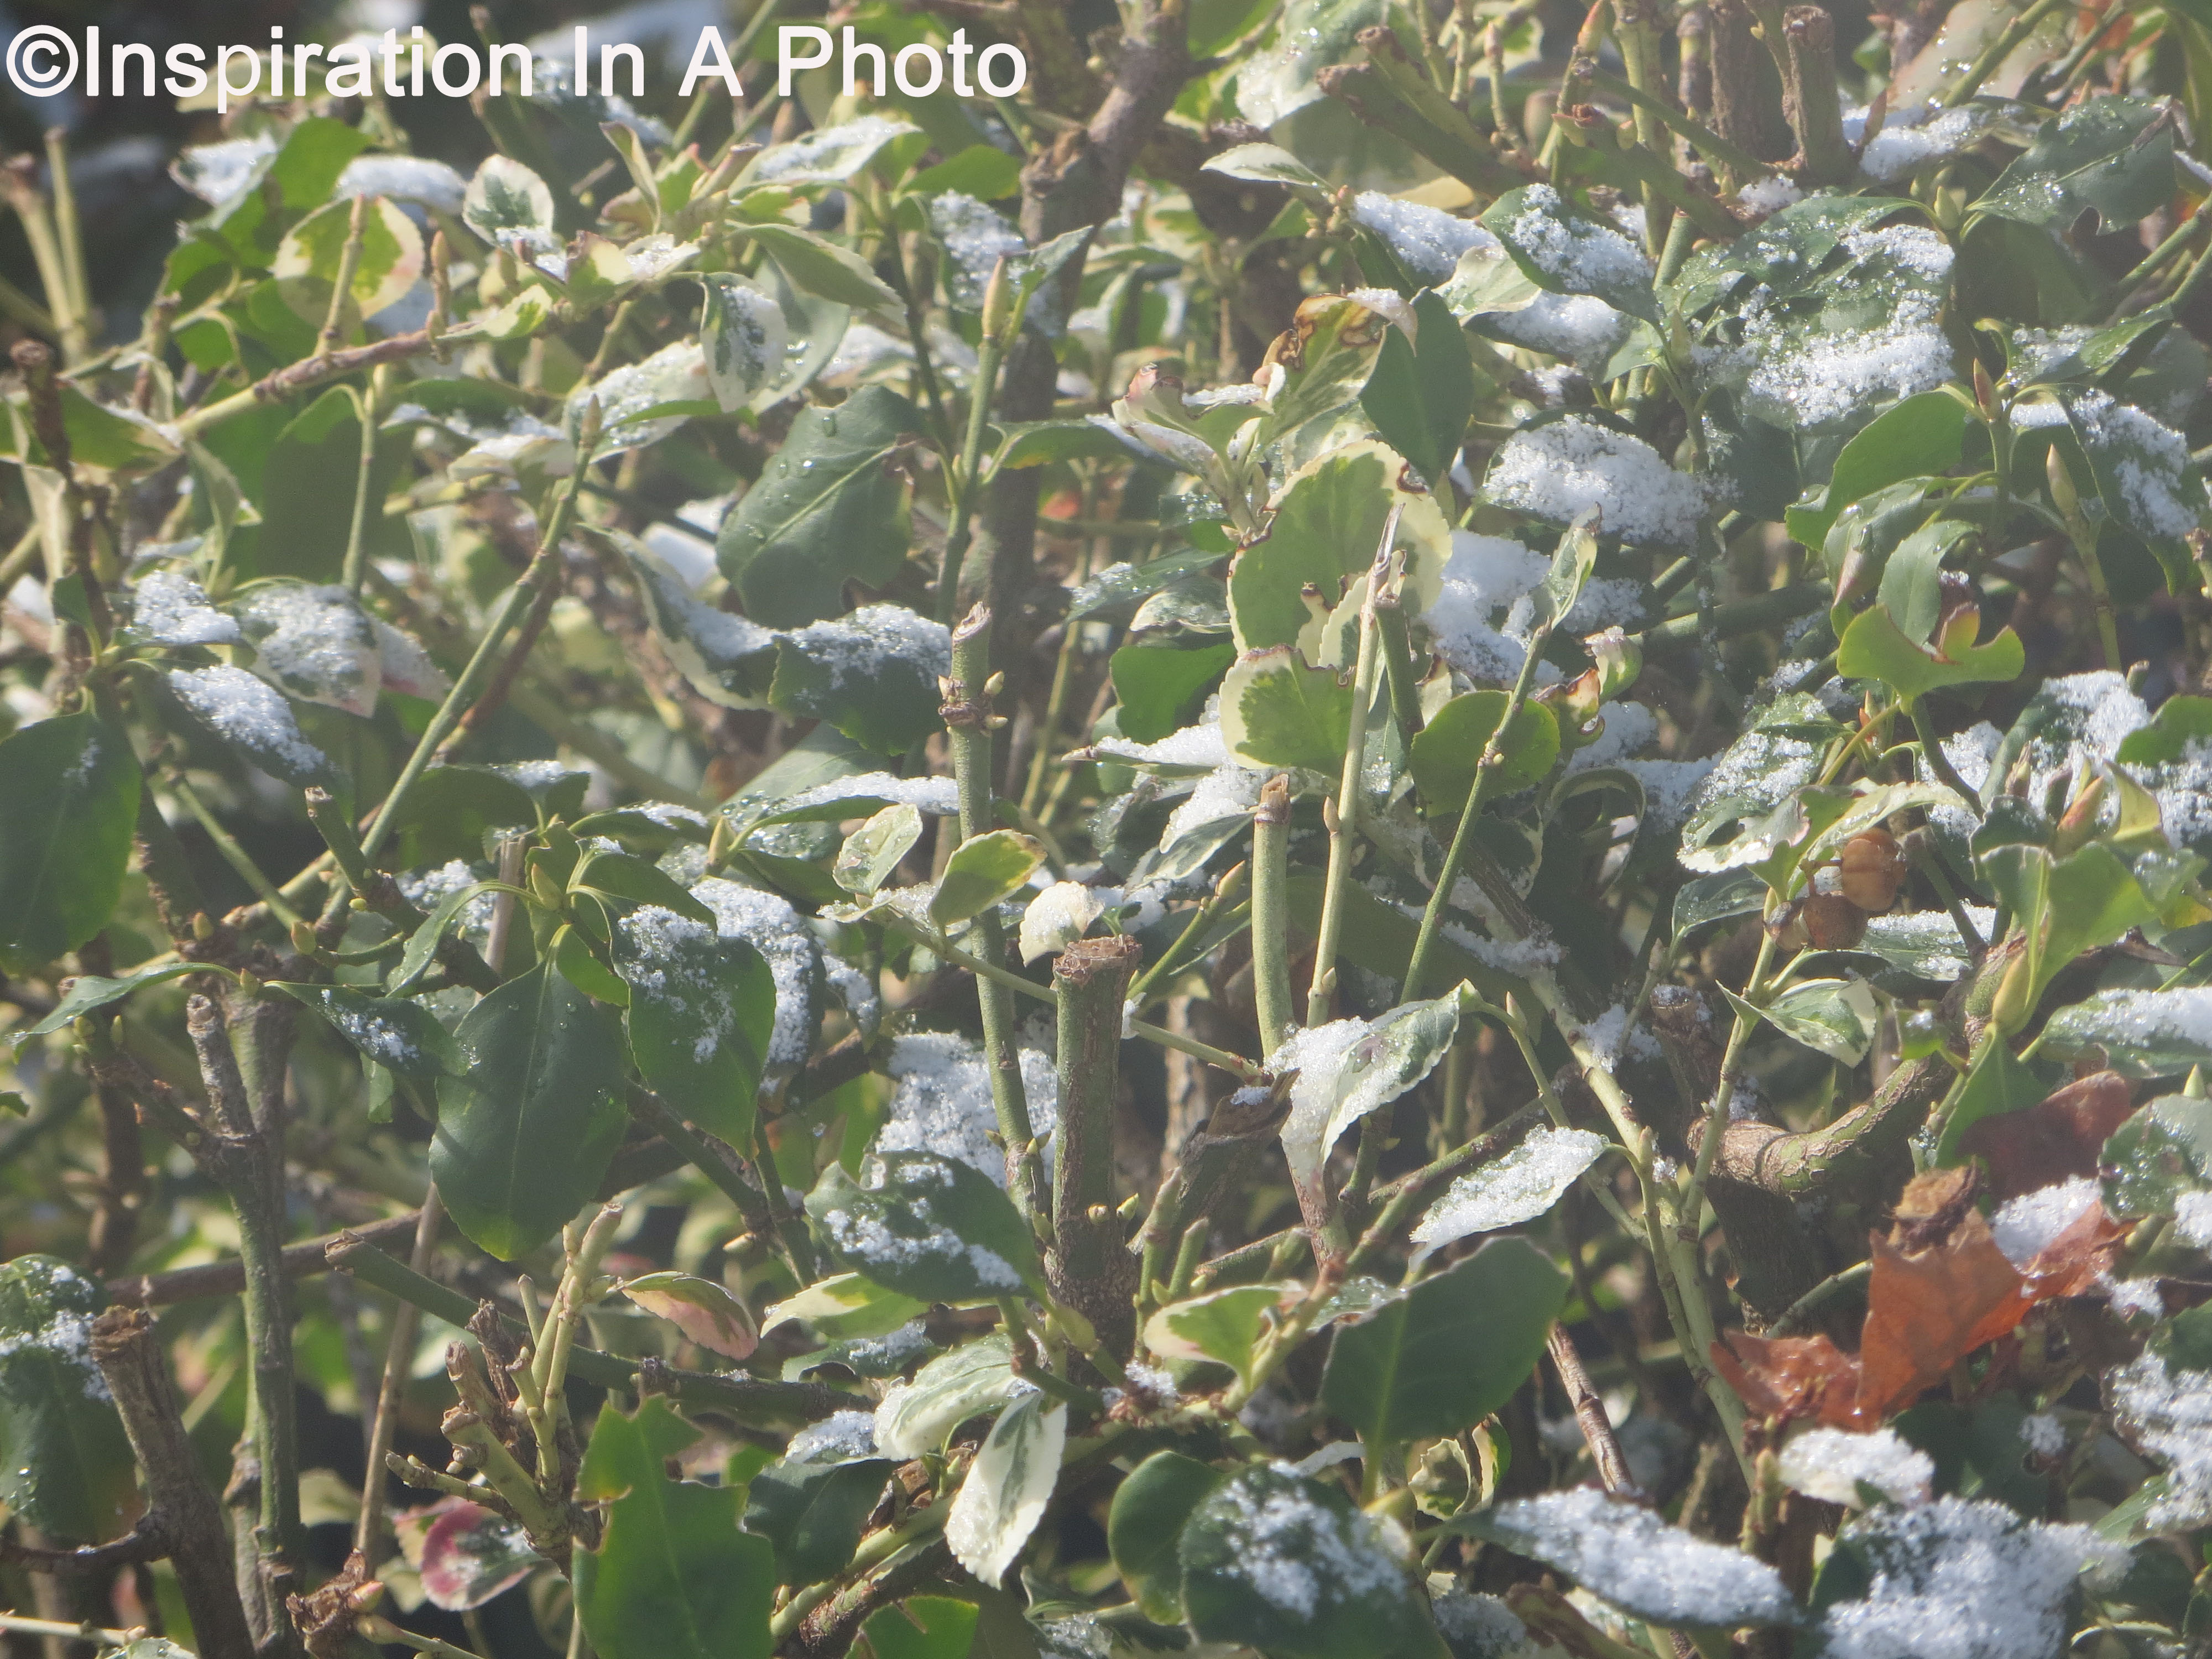 While some parts of the country have been dealing with snowy weather for awhile, we just got our first dusting of snow! I decided to snap a picture of the bush outside my window to capture the event. I love how the dusting of snow stands out against the green leaves of the bush. Many of us are used to seeing photos of a winter wonderland where everything is covered in snow, but you can also enjoy pictures that feature a smaller amount of snow. No matter how much snow your area receives, you can still photograph your own version of a winter landscape!
Thanksgiving Decor: Part 4
In this final Thanksgiving post I’ll be sharing how to dress up your table! Since my family only use three of the six chairs at the dining table, that allows me to decorate the half not in use. Below you’ll see a few pictures from this year’s table. I have our traditional poinsettia tablecloth adorned with various decorations.

I have pumpkins, leaves, a festive flower arrangement, and a turkey. The majority of the decorations on the table were purchased at craft stores. The glass pumpkin in the center of the table was purchased at a glass studio. You can find great pieces at reasonable prices at many glass studios, so keep your eye out for pieces that can be used both year-round and on special occasions.

At the center of the table I have a vase filled with various autumn foliage and a small turkey. The foliage brings together all the elements in the room, and the turkey adds a bit of whimsy to the table.

I hope you enjoyed my Thanksgiving decor and found inspiration for your own space. Have a Happy Thanksgiving!
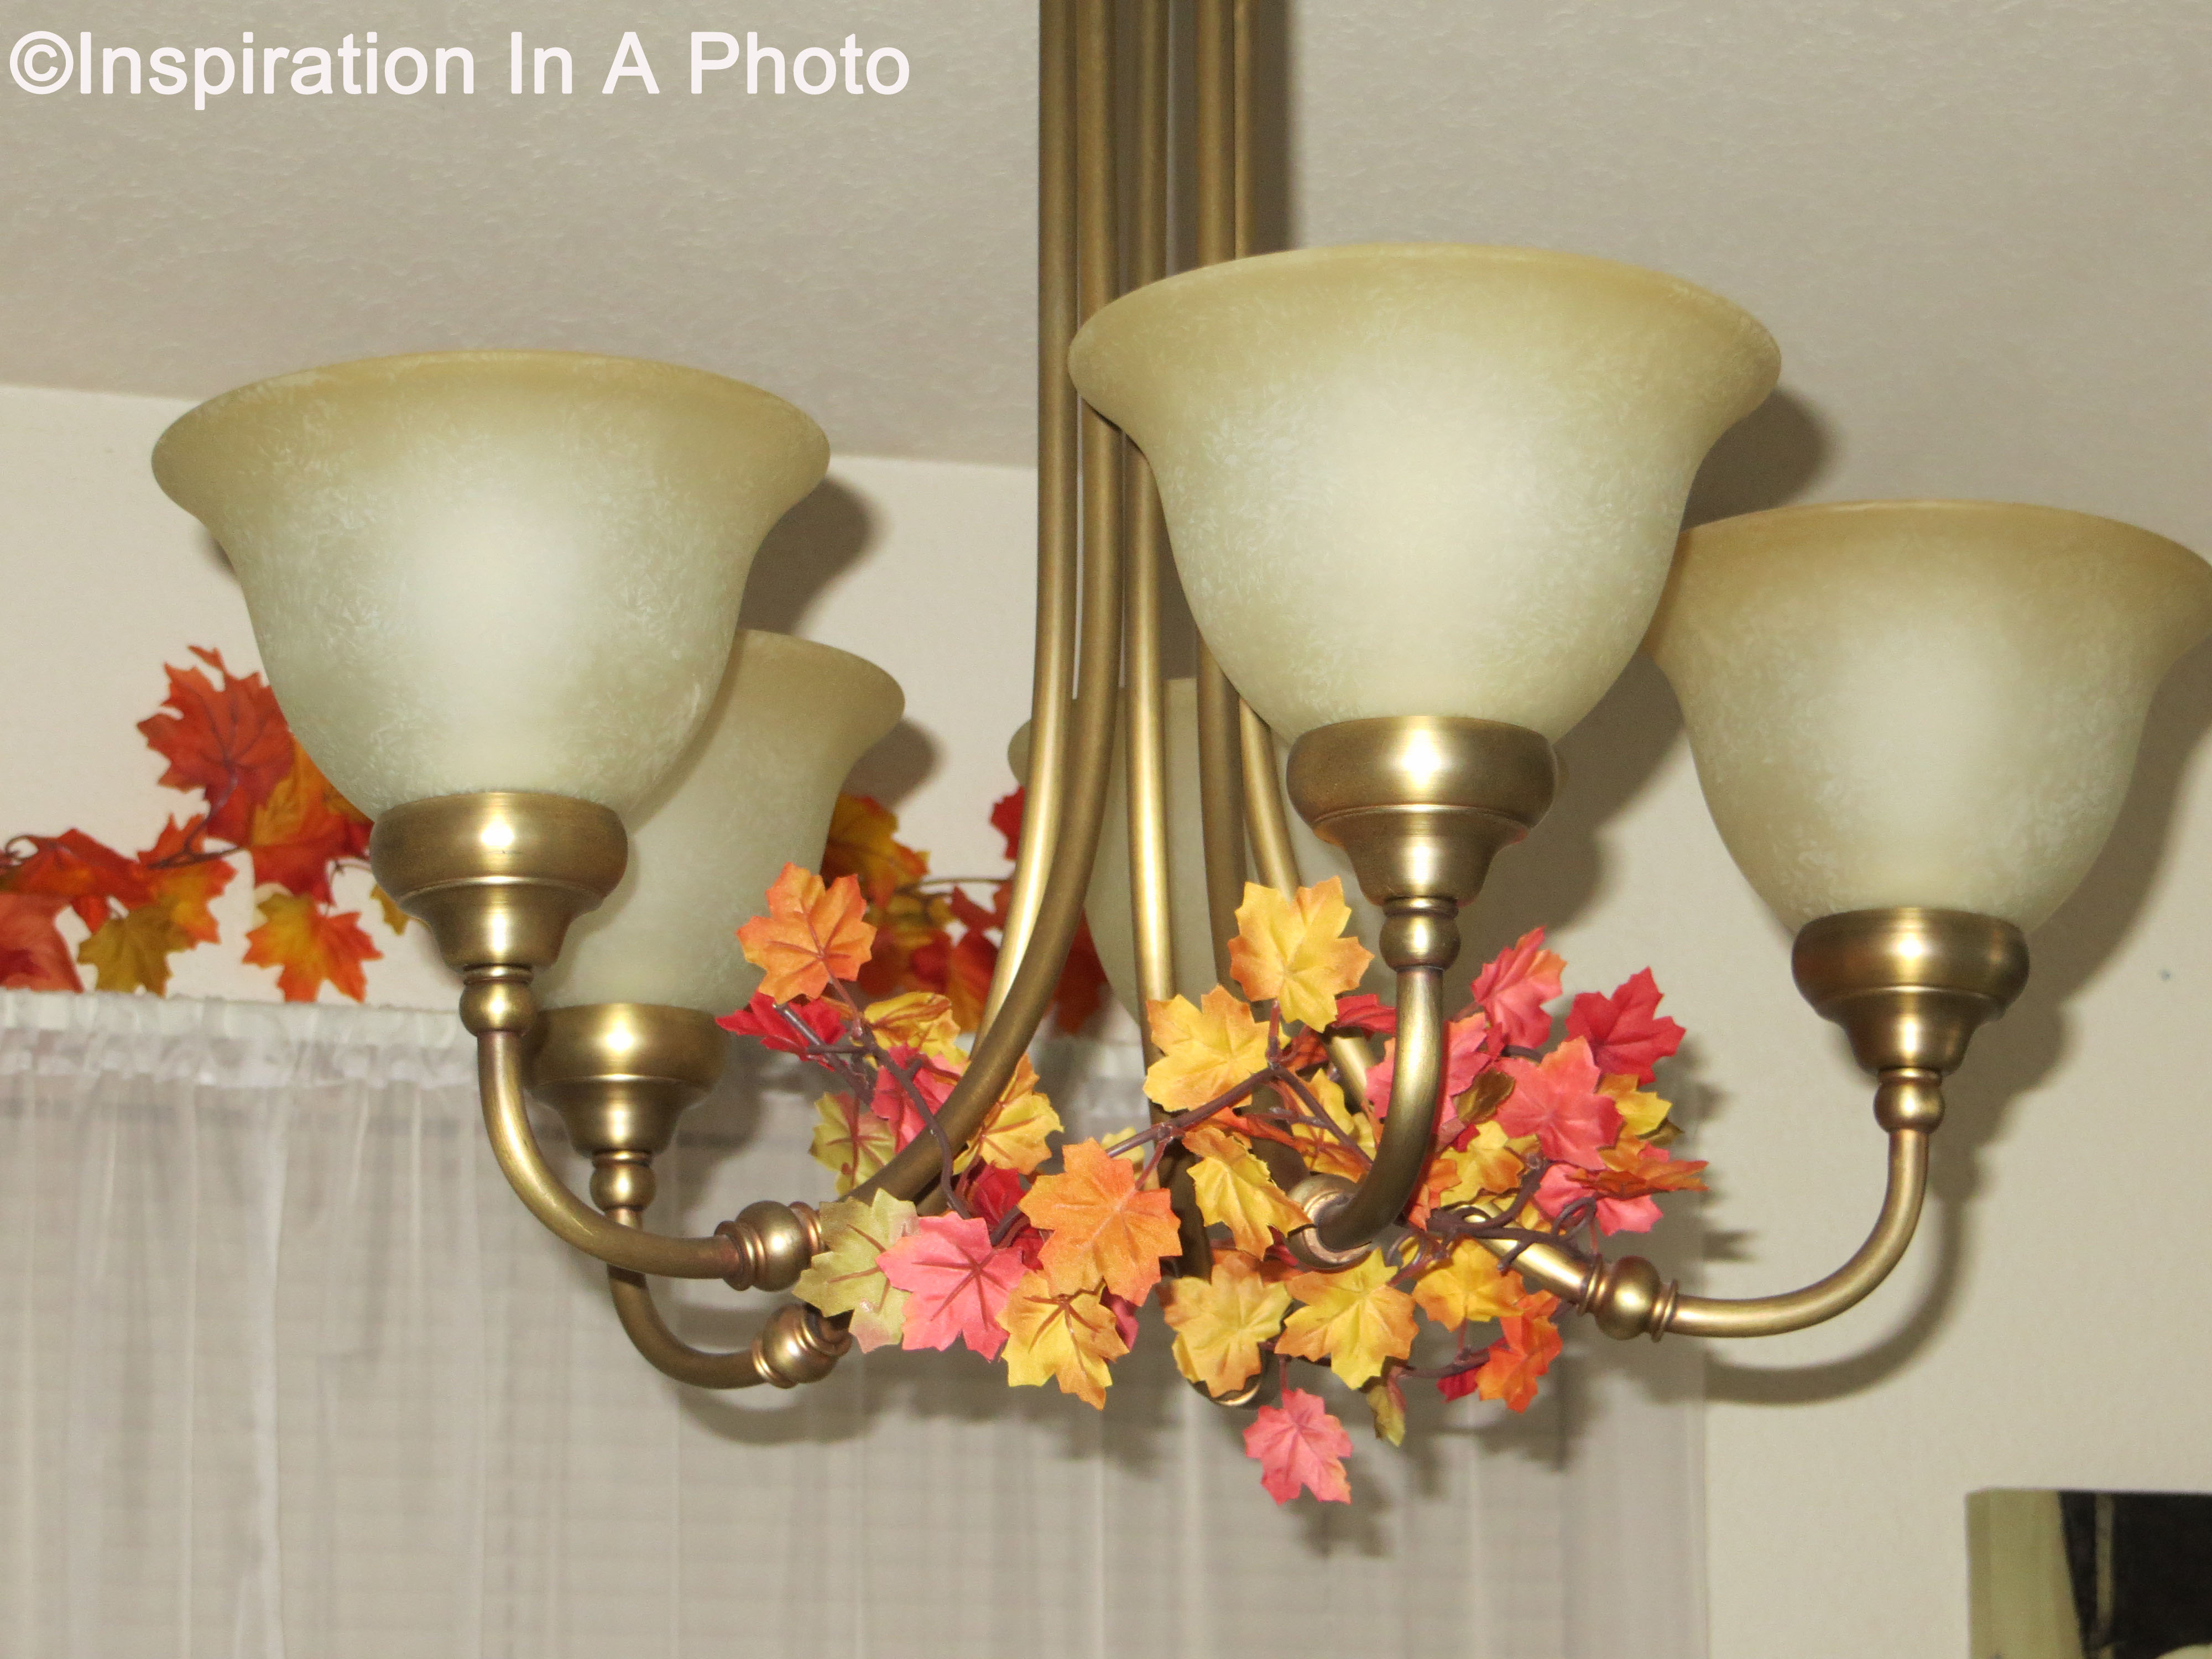
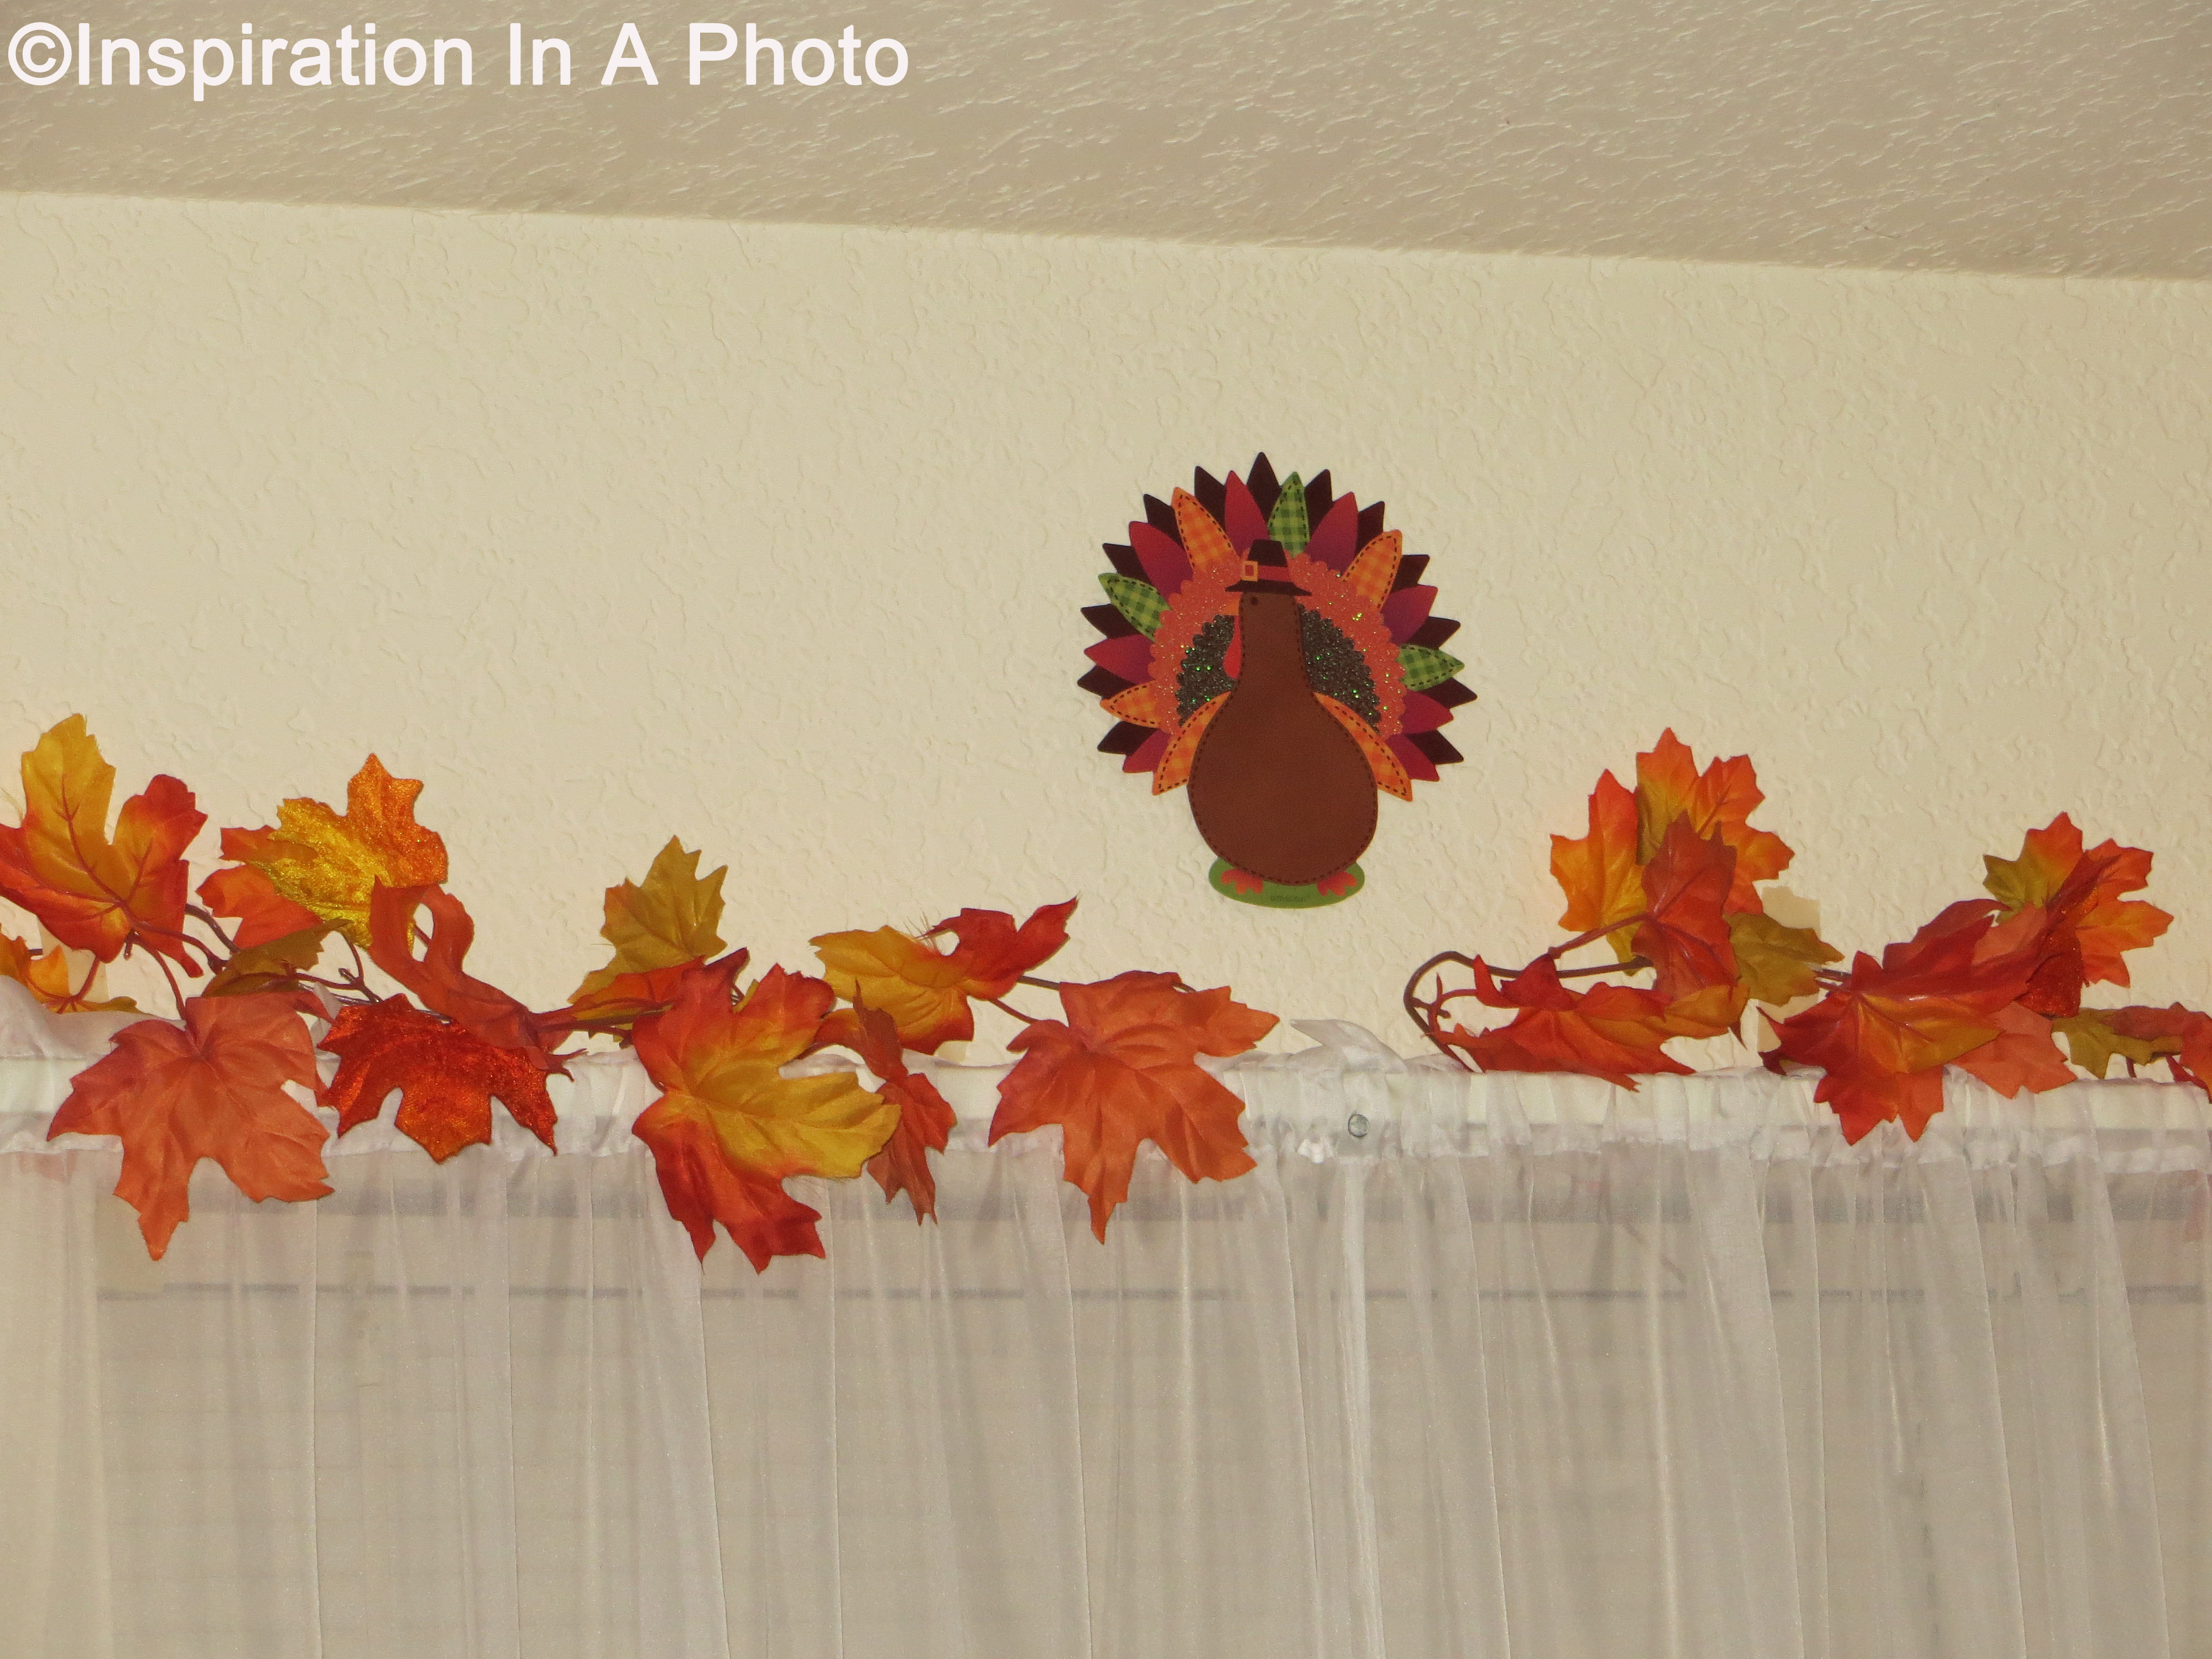
Thanksgiving Decor: Part 3
In my previous two posts I concentrated on decor in my living room (accent wall and above the window). In this post, I’ll be showing you how I decorated the dining room. I’ll start by showing you the space above our painting. This space is great for decorating, so I usually put something in this area for major holidays. As seen below, I use Happy Thanksgiving signs, foliage, and autumn food to decorate this area.

Next, we’ll look at the chandelier and window. Like the living room, I used garland to decorate the space above the window. I also used a smaller, shorter garland and wrapped it around the chandelier. When decorating a chandelier, it’s important to use light-weight items and make sure they don’t come in contact with any of the lights.

I hope you enjoyed this post on Thanksgiving decor. Check back for more ideas on decorating your home for Thanksgiving!
Thanksgiving Decor: Part 2
Welcome to my second post on Thanksgiving decor! In this post I’ll demonstrate how you can easily dress up the space above your window. As seen below, I added two autumn garlands, along with a fanciful turkey, above the windows in the living room.

This is an easy, inexpensive way to dress up a window and add a bit of interest to an otherwise blank space. As in my previous post, the garland is affixed to the wall with painter’s tape. This type of garland can be found at craft stores, and similar turkey decorations can be found at big box party stores. Remember, adding interest to a window is a great way to dress up your space and create a cohesive feel throughout your home!
